Sewing tutorial: how to sew a skirt without pattern
Today, I'm going to teach you how to sew a skirt without pattern. This tutorial is intended for people who are new to sewing (but who still have the basic skills to operate a sewing machine).
Feel free to watch the video to complement this article. Happy sewing 🙂
Materials for this skirt without pattern
To make this skirt without pattern, you will need:
- 1.10 m of fabric (140 cm wide),
- A 2cm wide elastic band that is half the length of your waist,
- Iron-on fabric: 8 cm * (half your waist measurement + 2 cm).
For the fabric, I used viscose, which gives a fluid drape. If you are new to sewing, I recommend using cotton, as it will be easier for you. However, cotton will not drape as fluidly. The choice is yours 😉
And if you want to go further, several patterns for beginners are available in my book.

Step 1: Fabric dimensions and cutting
To cut your fabric, you will need to fold it in half (with the fold running in the same direction as the grain):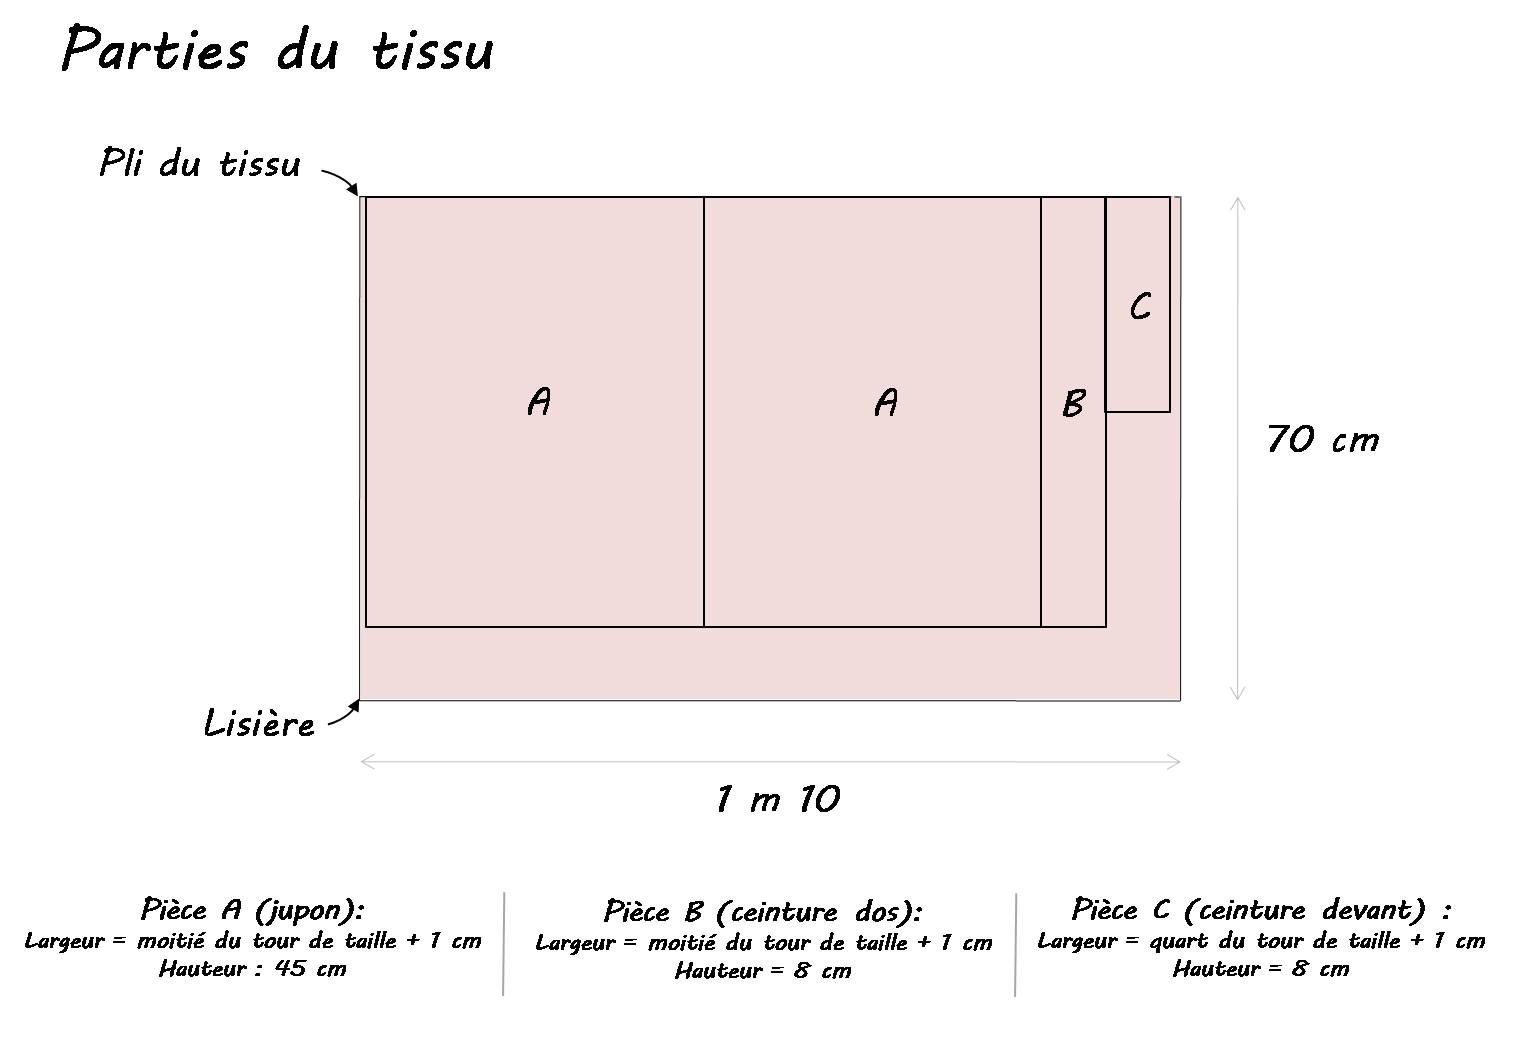
Measurements for a skirt without pattern
You will only need one of your measurements: your waist measurement.
You will therefore have 4 rectangles to cut out:
- Front waistband (C): 8 cm * (quarter of waist circumference + 1 cm)
- Back belt (B): 8 cm * (half of waist circumference + 1 cm)
- The petticoat (A, cut twice): 45 cm * (half the waist measurement + 1 cm)
These measurements correspond to a skirt that falls above the knees. You can adjust the length to suit your needs. For example, if you want a skirt that falls at the ankles, measure the length between your navel and one of your ankles and add 3 cm to this length (to allow for seam allowances).
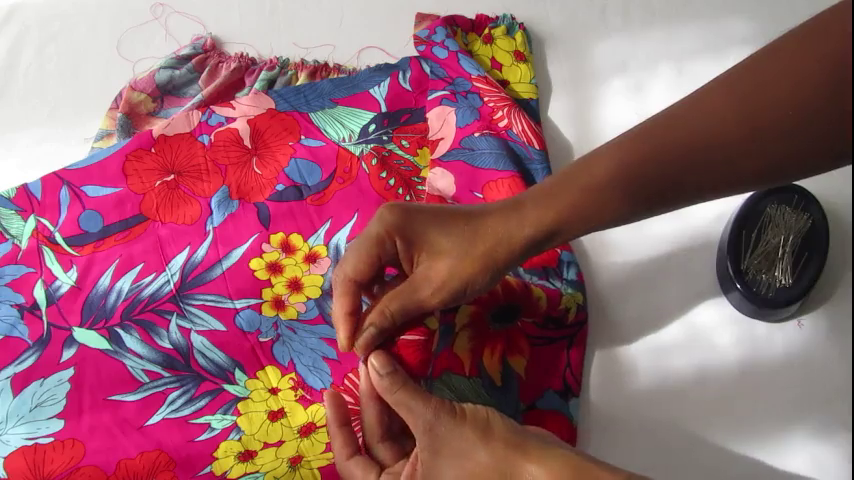
When you transfer the measurements onto the fabric,remember to pin the parts of the fabric that need to be cut.Thiswill keep your fabric in place while you cut.
Transfer the measurements onto the fabric.
If you choose viscose, it can be difficult to trace the dimensions directly onto the fabric, as it does not stay in place. To make it easier, you can proceed as if you had a pattern
- First, draw the dimensions on paper and cut it out (be careful to use different scissors for paper and fabric, as paper damages fabric scissors).
- Next, place the sheets of paper on your fabric,
- Finally, cut your fabric by running your scissors close to the edge of the paper.
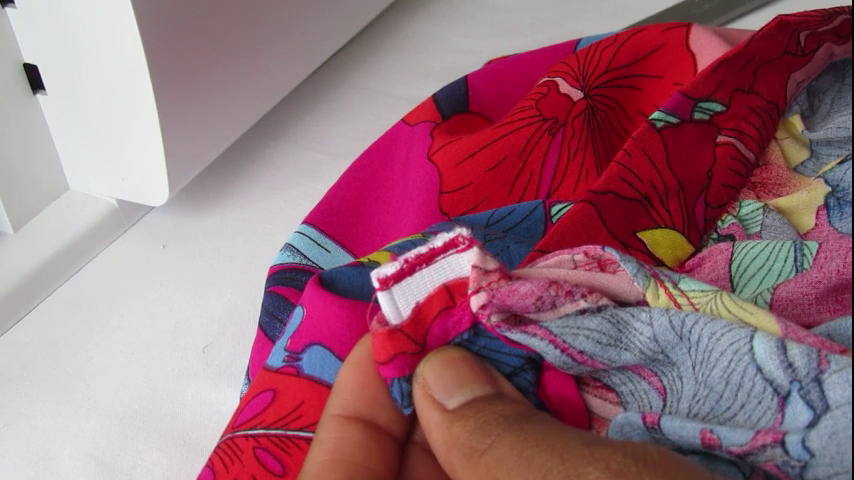
Step 2: Heat sealing
To make the front waistband more rigid, attach the strip of heat-activated fabric to it.
The iron-on fabric has two sides: one smooth side and one rough side (the one with the adhesive).
Place the rough side of the iron-on tape on the back of the front waistband. Then, iron over it (without steam), holding the iron steady for about 15 seconds at a time along the fabric.
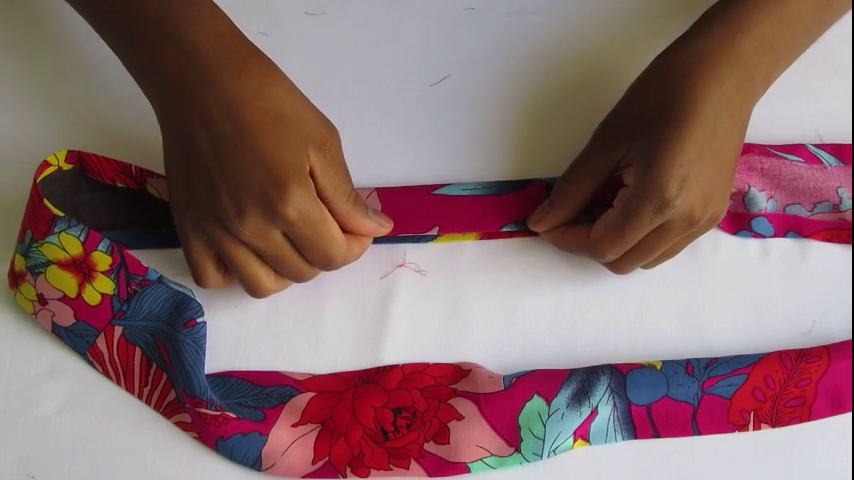
Step 3: Creating the belt
Place the front waistband (heat-sealed) and the back waistband right sides together. Then, pin the sides together edge to edge. Next, stitch these two sides 1 cm from the edge.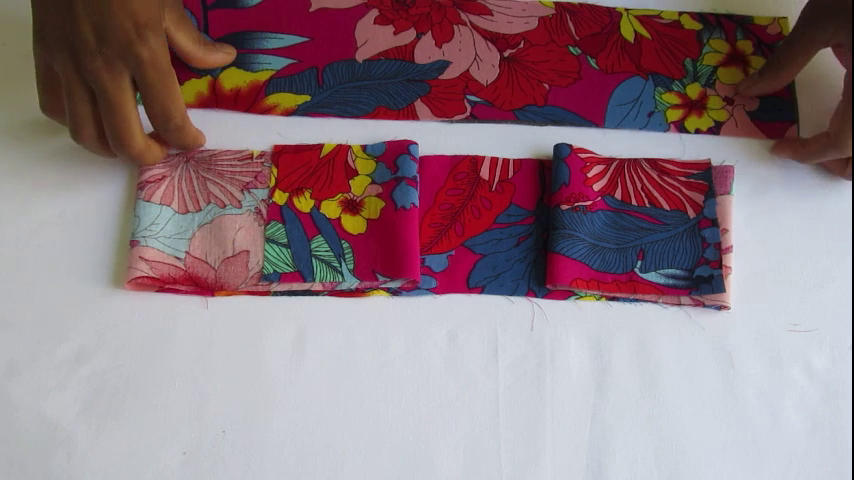
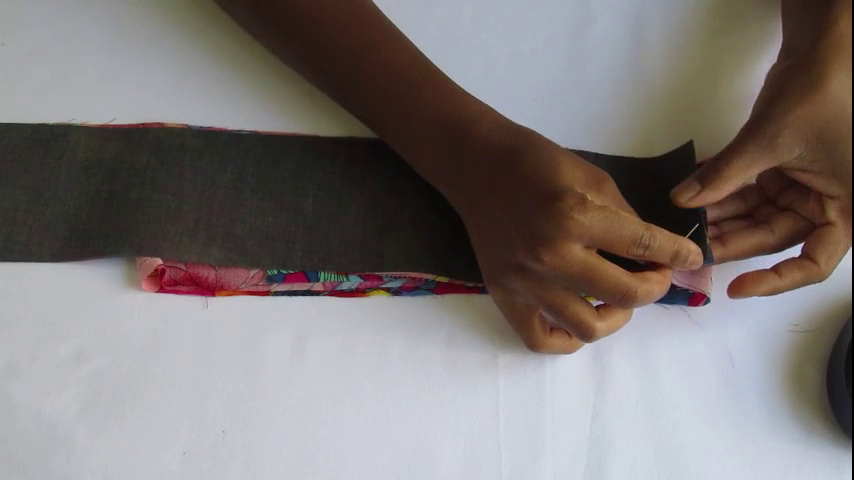
Then fold both edges of the belt around the entire circumference by 1 cm using an iron.

Finally, fold the belt in half all the way around, using the iron again to help you.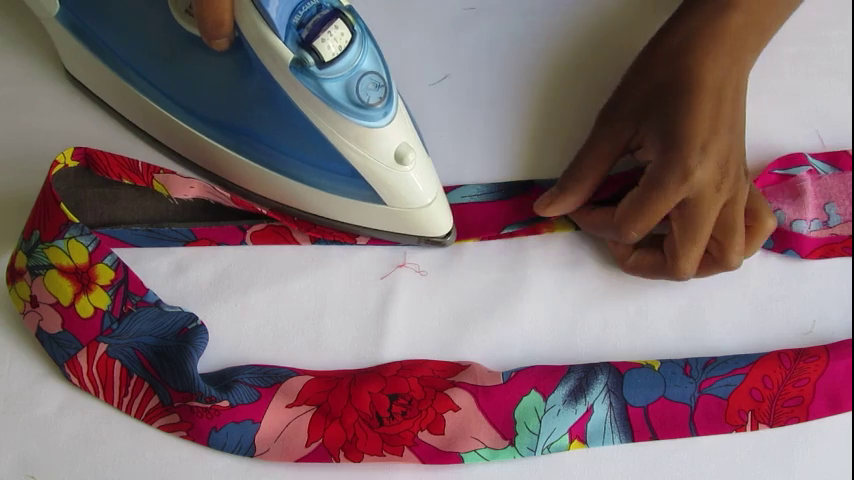
Step 4: attaching the elastic band
Position the elastic at one of the seams (seam allowances) of the waistband, as close as possible to the center fold (the last fold made in the previous step). Then secure it with one or two pins.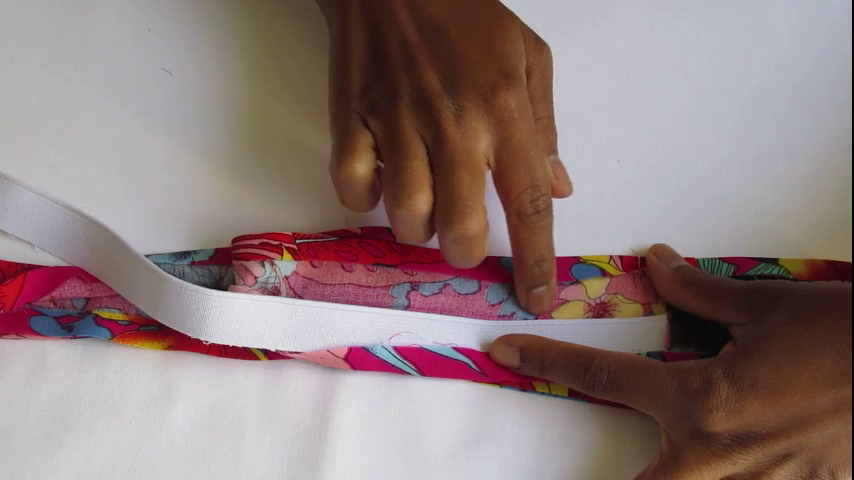
Do the same on the other joint of the belt, positioning yourself on the same side in relation to the center fold: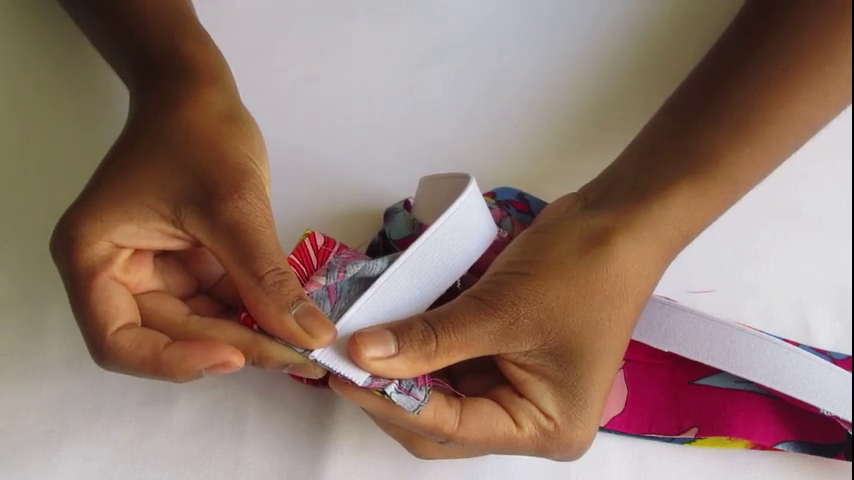
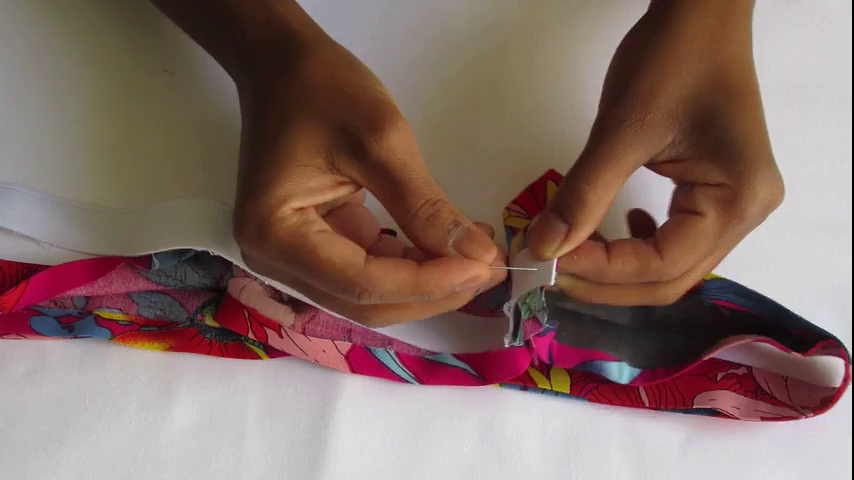
Then sew, making sure to go back and forth several times so that the elastic is held securely in place. Please note: I recommend that you read thefollowingnote before injecting.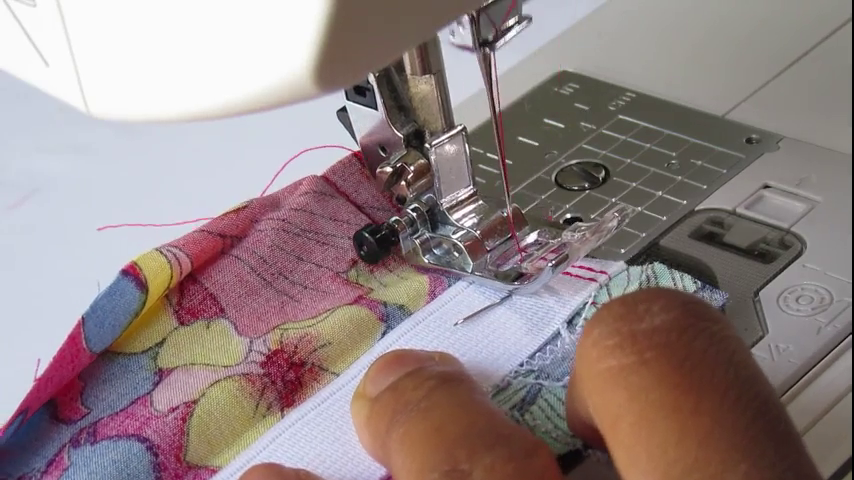
Note: Feel free to try on this belt by slipping it on at the green circle shown in the following image (the green circle corresponding to your size):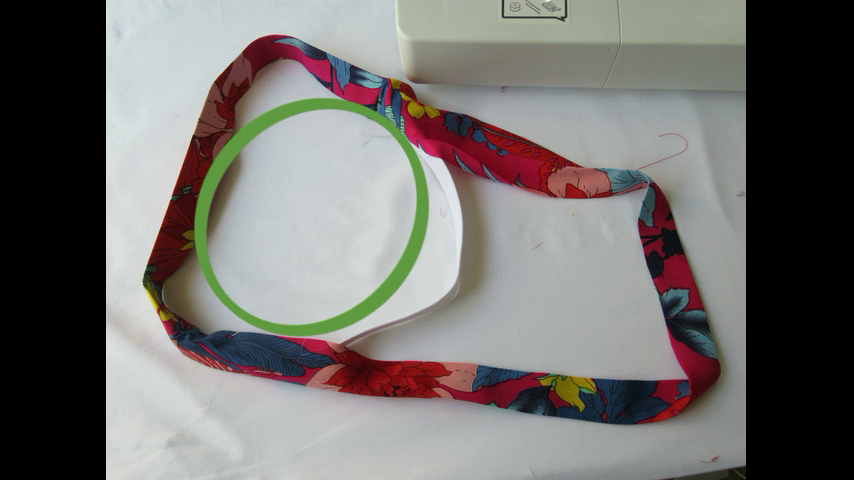
Try on/adjust the belt
I like to feel comfortable in my clothes, so you may find that this belt doesn't cinch your waist enough. It's therefore important to try it on and adjust it if necessary. To do this, I suggest three methods:
Method 1:
Try on the belt when the elastic is not yet sewn in place but just held with pins (the pins should be vertical, unlike in the photo above, so they don't prick you). If the belt is not tight enough, you can easily cut the elastic.
Method 2:
Try on the belt once the elastic has been sewn in. If the elastic isn't tight enough for you, unpick it (I've never tried this myself, as I imagine it would be a real pain to remove...).
Method 3 (barbaric method):
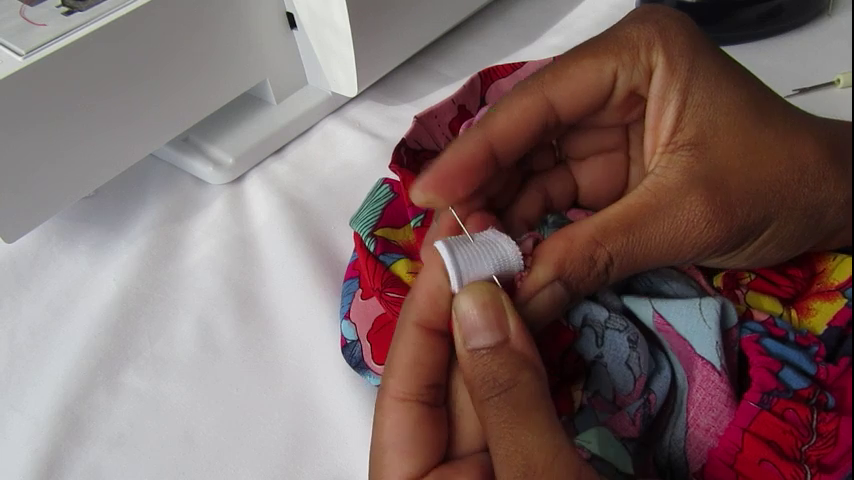
Try on the belt once the elastic has been sewn in. If the elastic tension is not right for you, cut off the excess elastic that has already been sewn in, hold the two cut edges together with a pin, and sew a zigzag stitch as close together as possible, 2 mm wide and 5 mm from the edge. Then cut off the excess between the zigzag stitching and the edges:

Step 5: Creating the petticoat
Set your machine to the widest straight stitch. Then take one of the two petticoats (part A in the cutting plan). Next, stitch one of the longest sides at 5 mm, starting 1 cm from the edge and stopping 1 cm from the edge.Important: do not backstitch at the beginning or end.Stitcha second gathering line 5 mm from the previous one.
Now you need to gather all of this! Take one side of the petticoat and grab the two top gathering threads (they are on the side of the fabric that was facing up when you sewed it on the sewing machine). Then pull on them while pulling the fabric in the opposite direction to form gathers.

Do the same on the other side of the skirt and distribute the gathers evenly across the entire skirt. You can stop gathering when the width is equal to half your waist measurement + 2 cm.
At this point, tie a knot on both sides of the petticoat. Then, to secure everything in place, sew a normal stitch with the sewing machine between the two gathering lines.
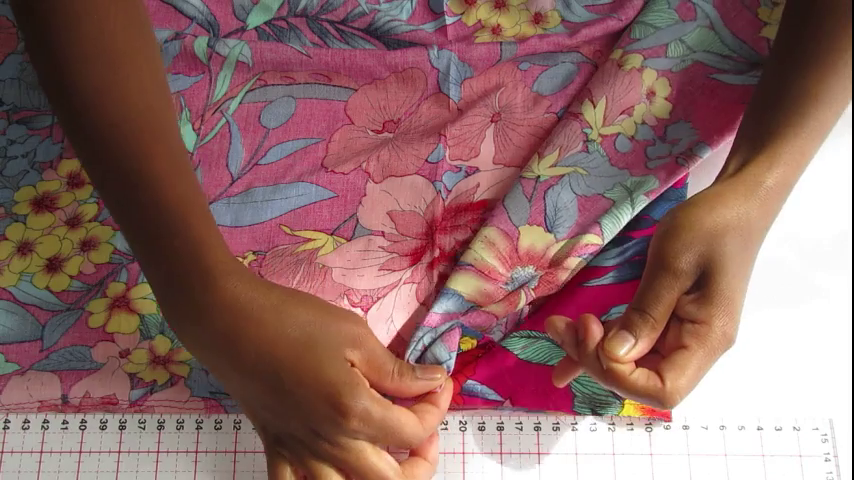
Next, take the second petticoat and place it inside out, then pin the sides together edge to edge. Stitch5 mm from the edge, then trim any threads that stick out from the fabric.


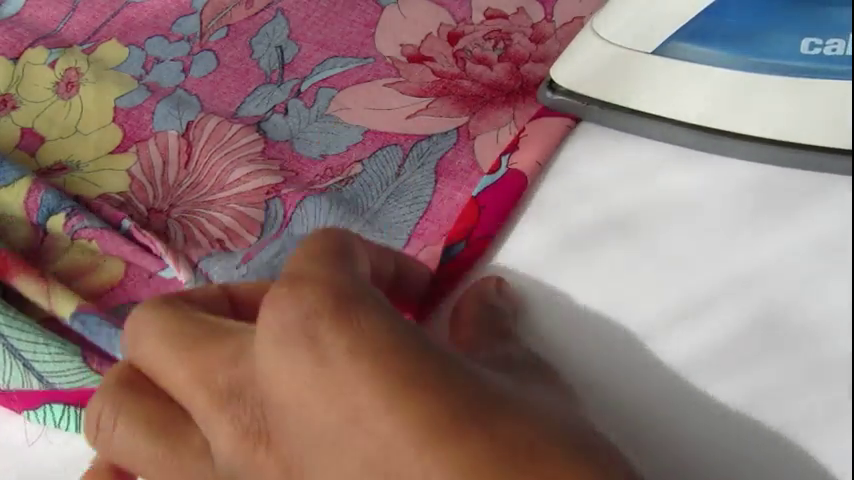
Then turn the skirt right side out and fold along the two previous seams, securing with pins.
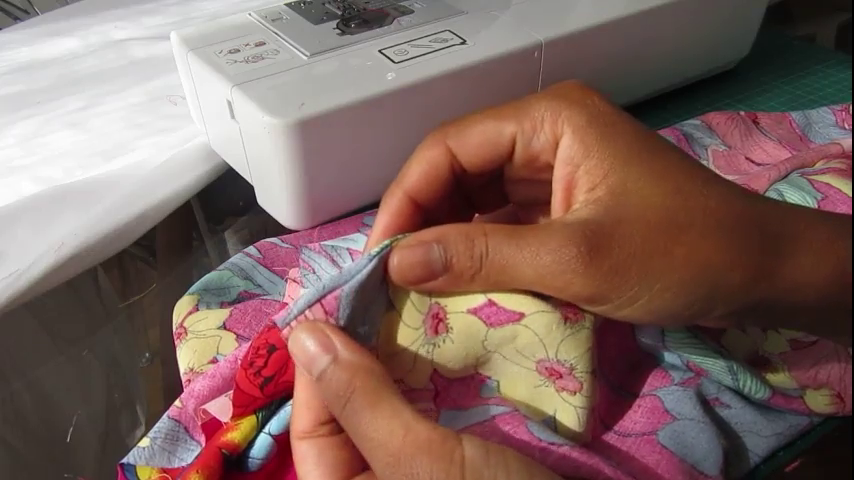
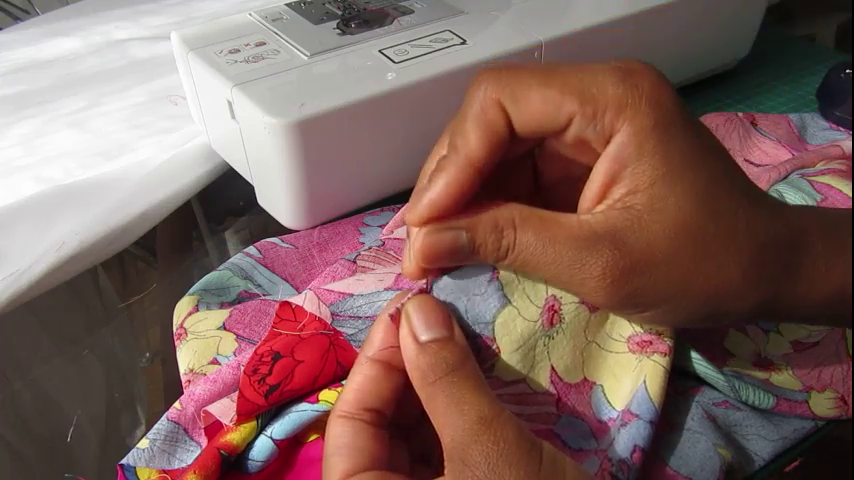
Tip: Usually, you press the seam allowances with an iron before folding the fabric right sides together.
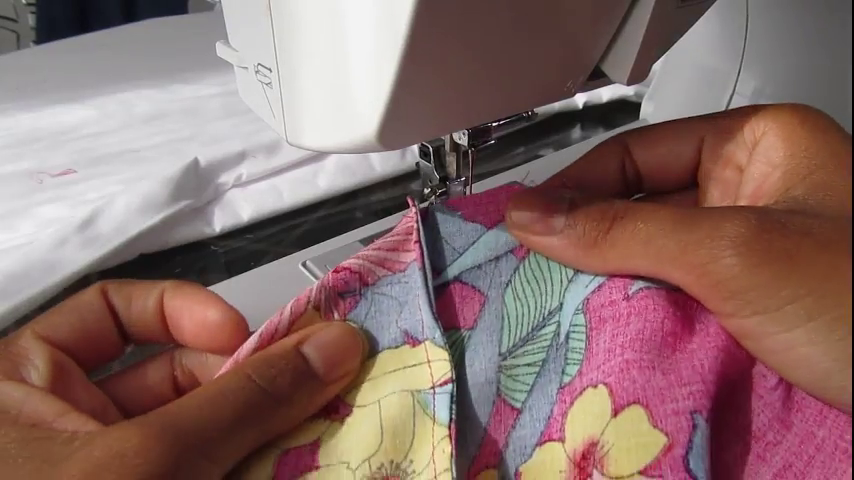
Stitch5-7 mmfromthe previous seam. You will then have anEnglish seam!

Step 6: attaching the belt to the skirt without pattern
Start by placing the waistband right sides together with the top of the skirt. The lined part of the waistband will be against the gathered part of the skirt.Match the seams of the waistband with those of the skirt. Make sure the elastic of the waistband is facing inward (toward the bottom of the skirt) and secure everything with pins. Stitch 1 cm from the edge.
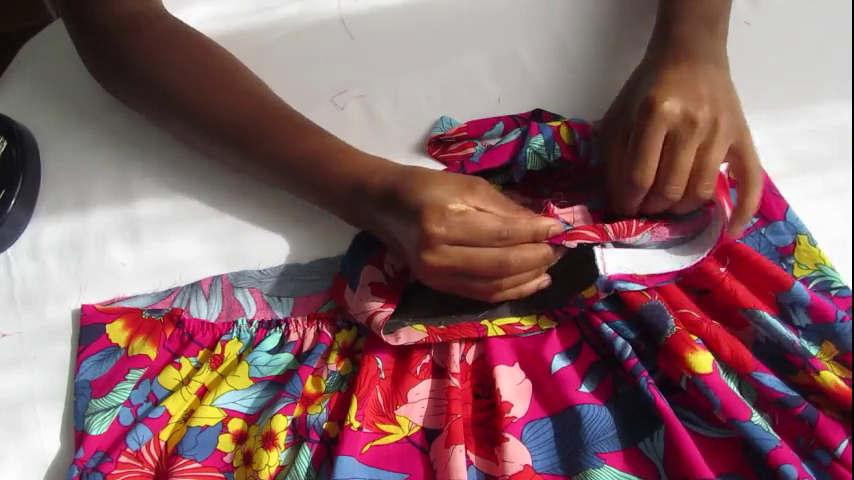


Then fold the belt inward using the center fold of the belt (the last fold formed in step 3).
Start by pinning the lined belt to the gathered petticoat.
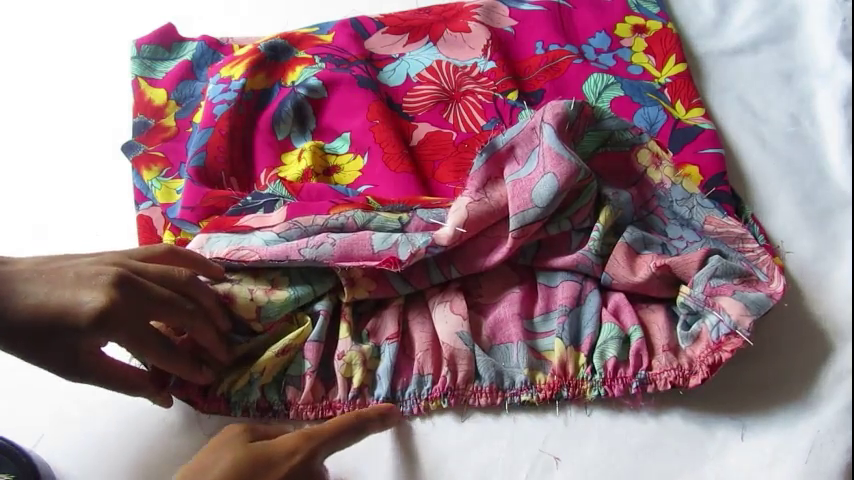
Do the same for the back waistband and the ungathered petticoat.Be careful not to pierce the elastic when pinning; the needle should pass close to the edge of the elastic and then come out at the petticoat.
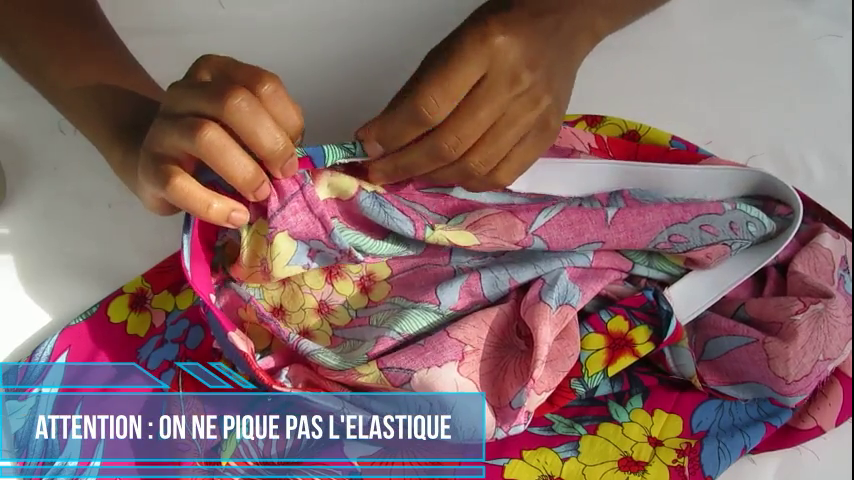
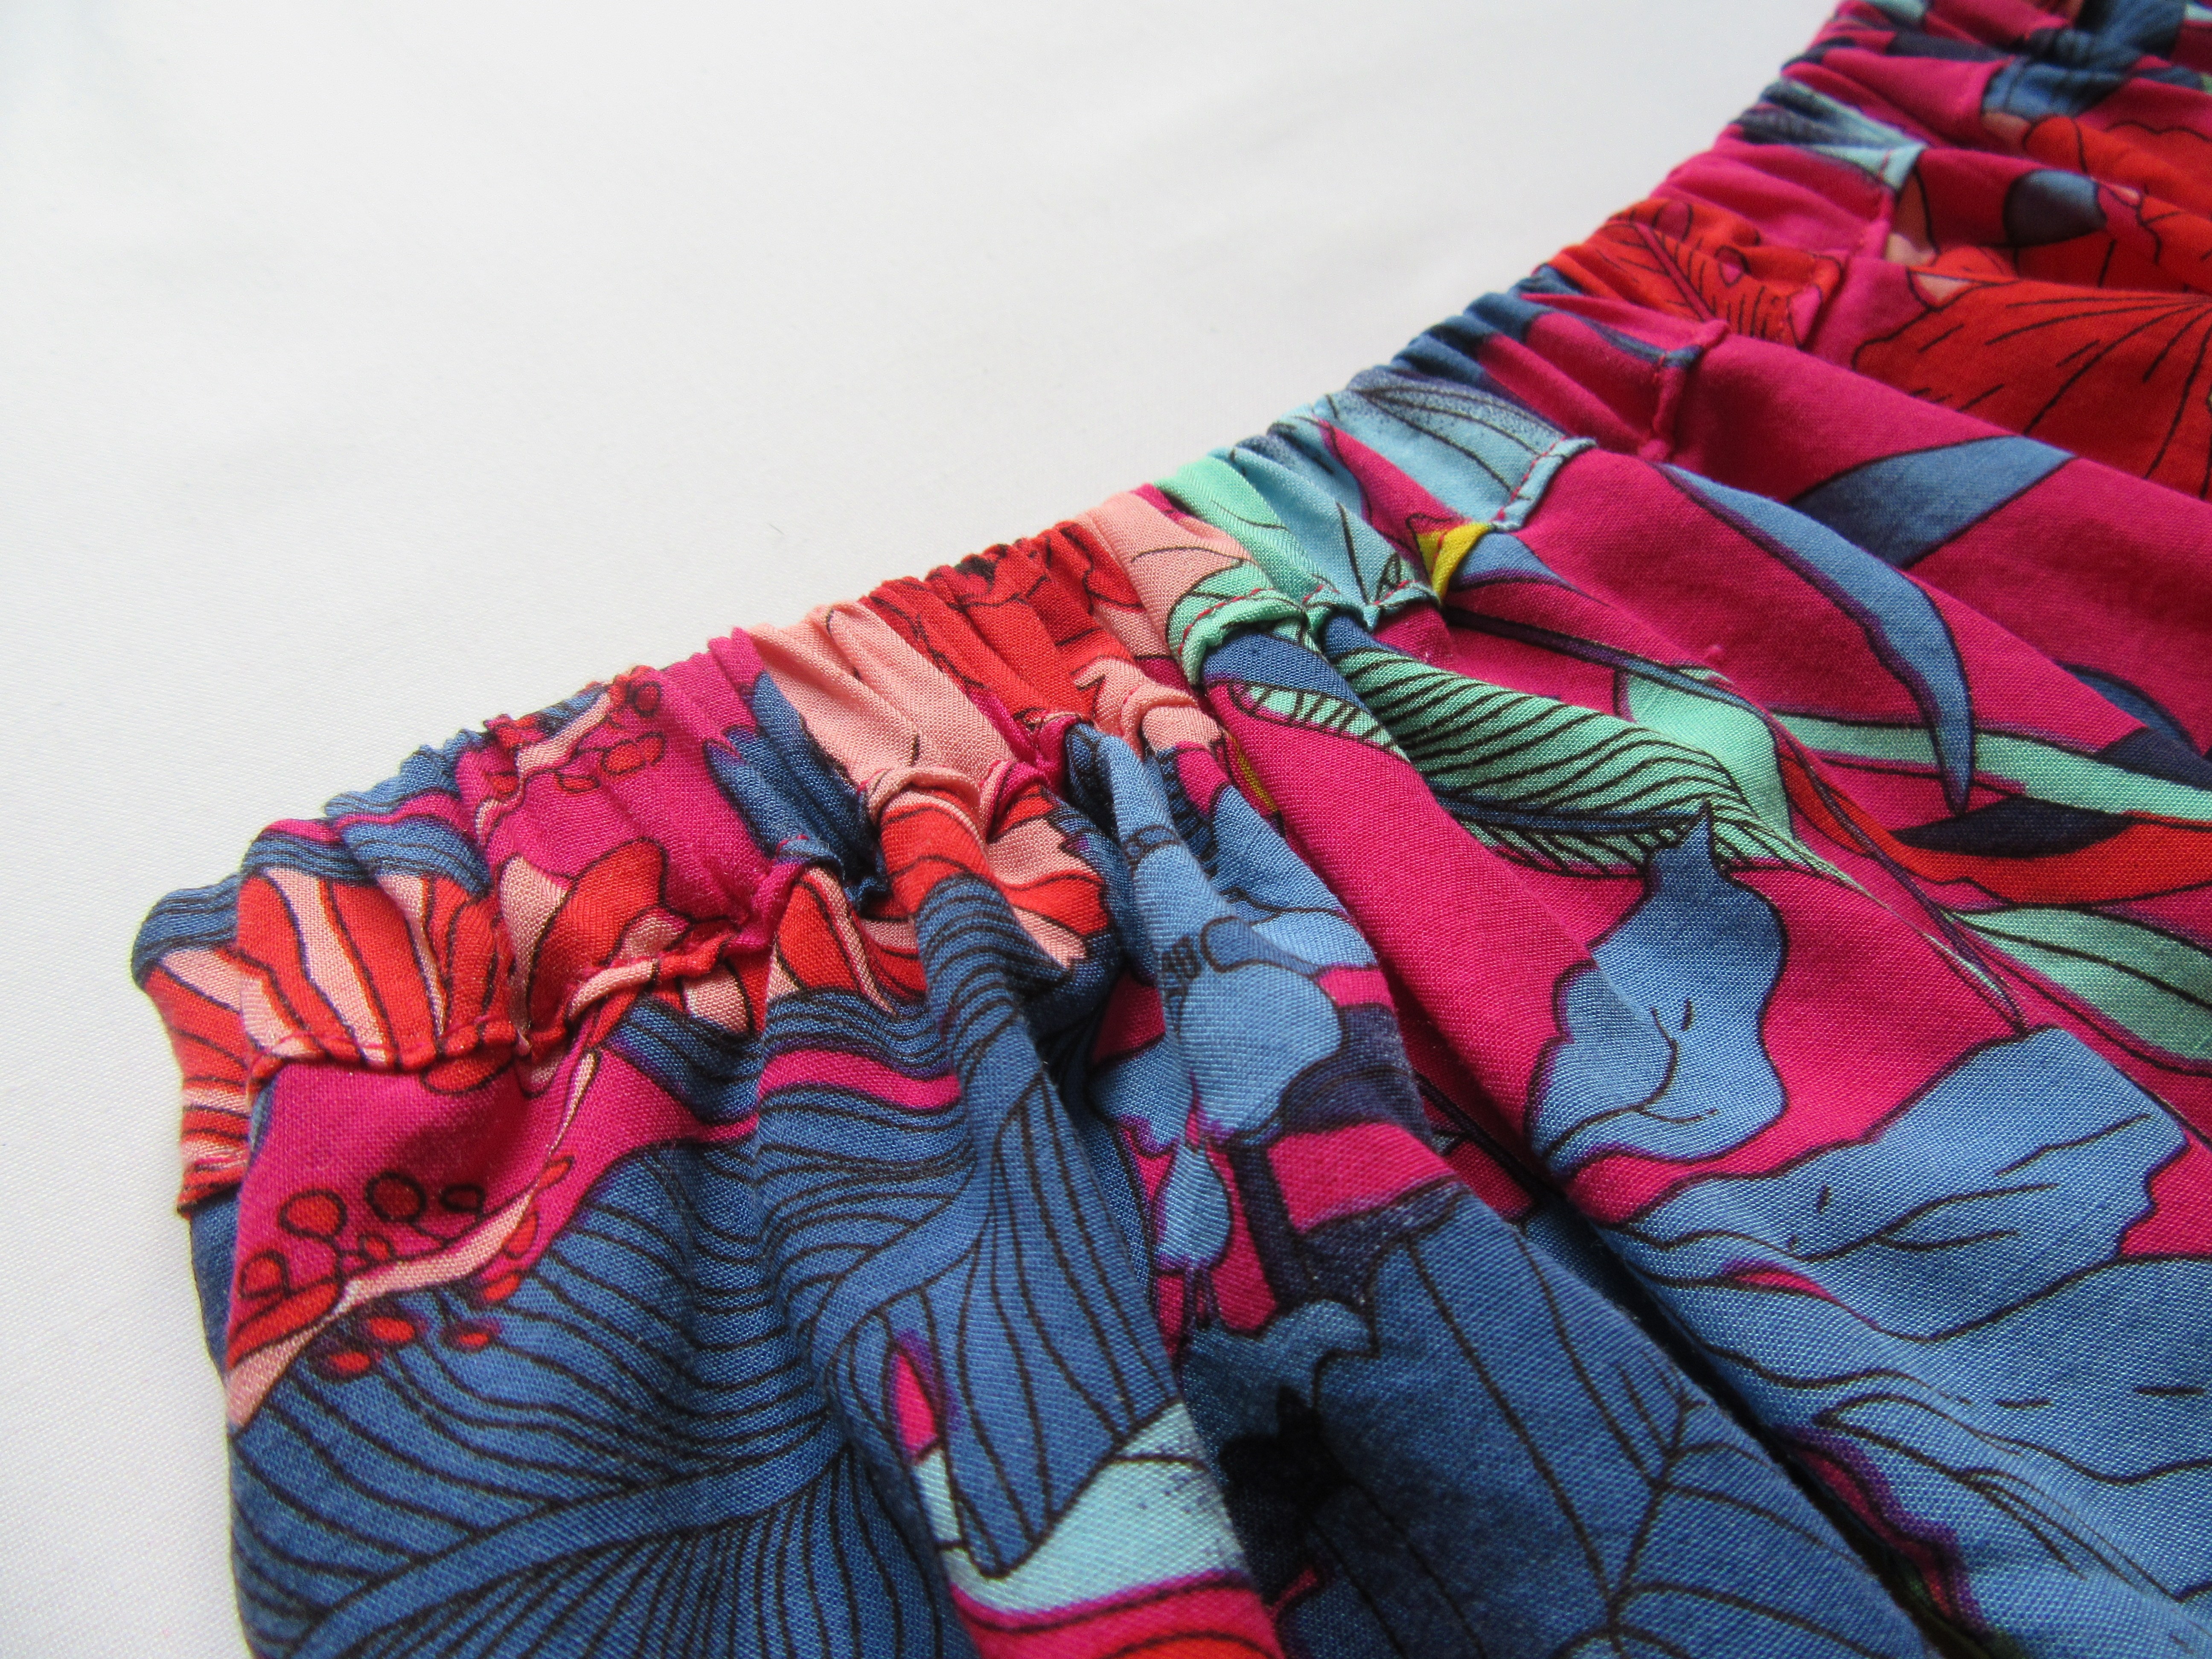
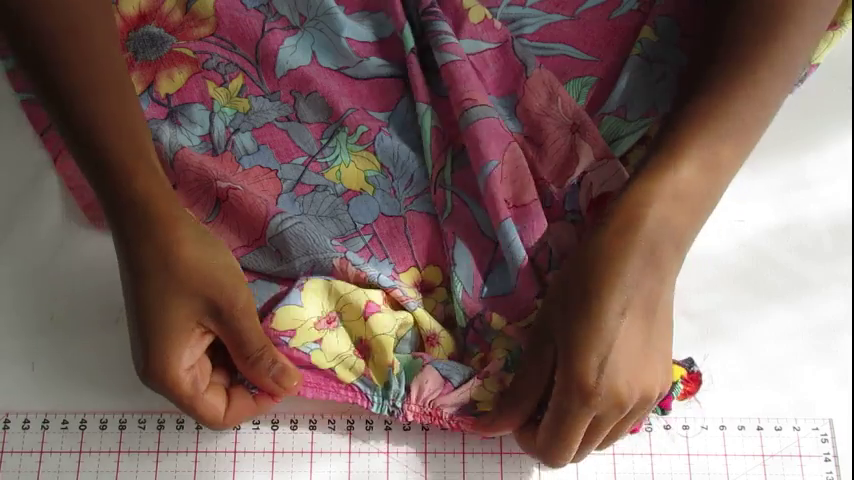
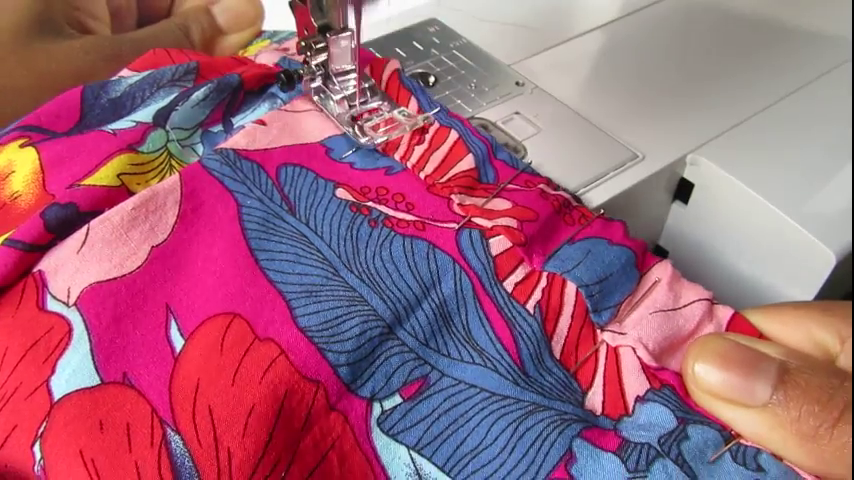
The distribution of gathers
You will then see that at some point, the elastic becomes too short to fold the fabric over. Pull on the elastic and gather the part of the fabric that has already been pinned (this is why you should not sew the elastic, otherwise you will not be able to pull on it to gather the fabric). Continue pinning the waistband to the skirt and repeat the gathering process if necessary.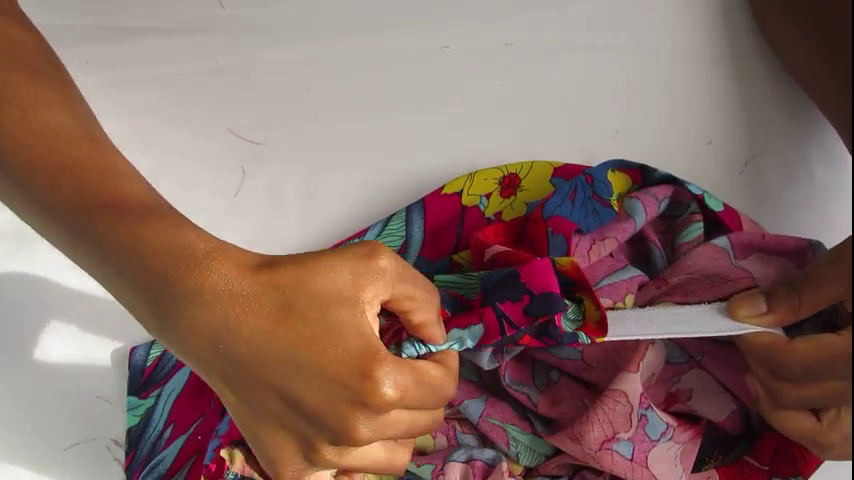
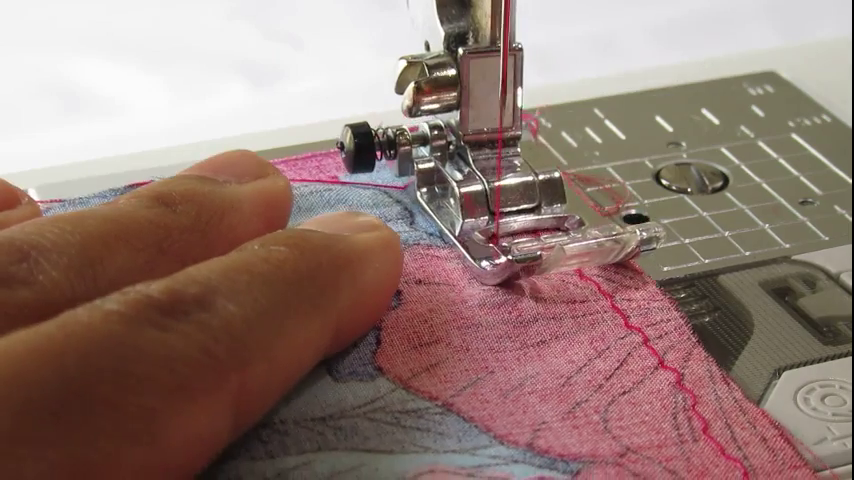
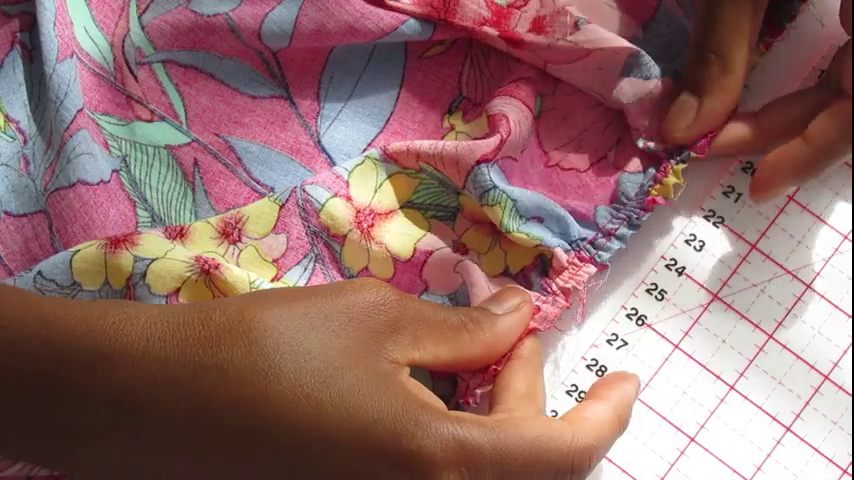
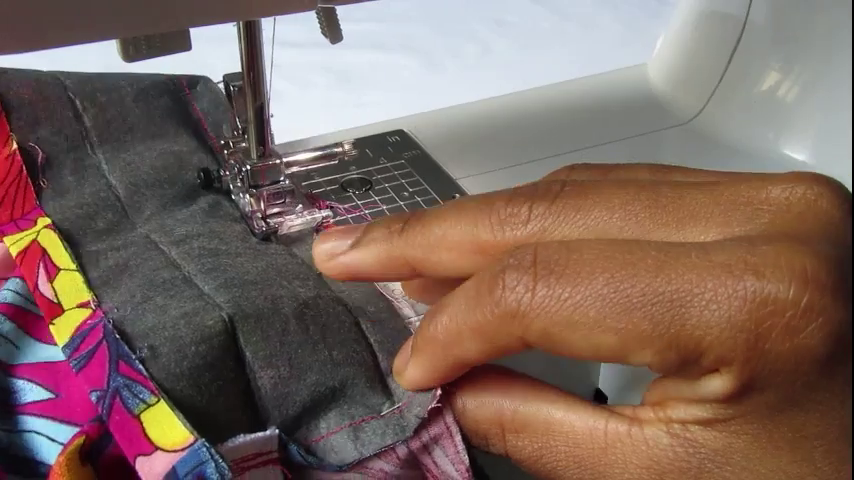
Once the entire waistband is pinned,distribute the gathers evenly across the back waistband, then stitch 1-2 mm from the previous seam:
- For the front belt, there is no great difficulty:
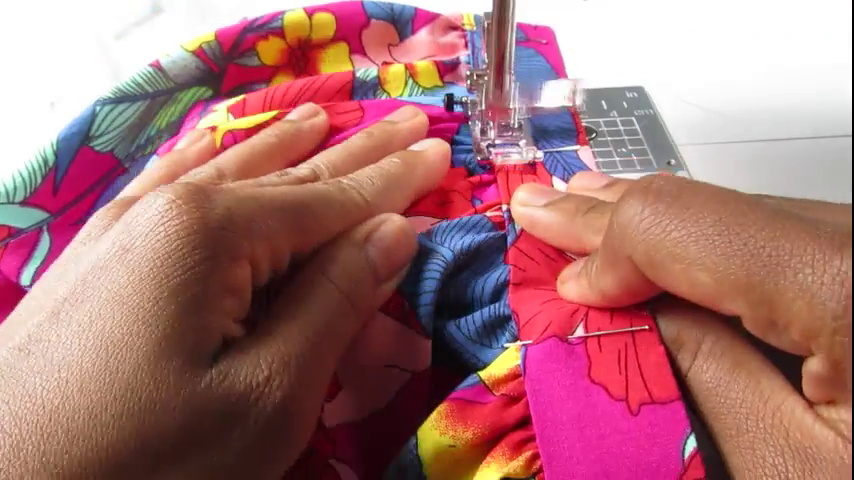
- For the back waistband, you will needto pull both the front and back of the fabric to avoid distorting the needle(see video). This is why it is necessary to distribute the gathers of the back waistband evenly before stitching. Be careful not to sew through the elastic; you need to sew between the elastic (which you can feel with your finger when you touch the back belt) and the previous seam.
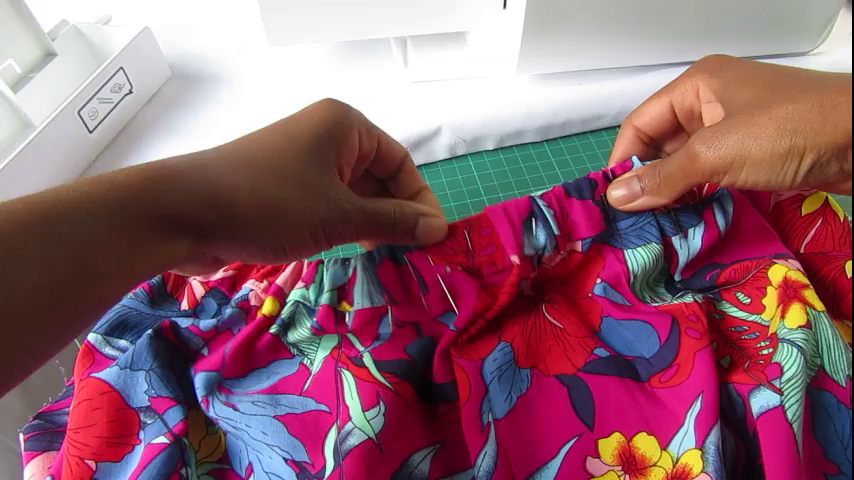

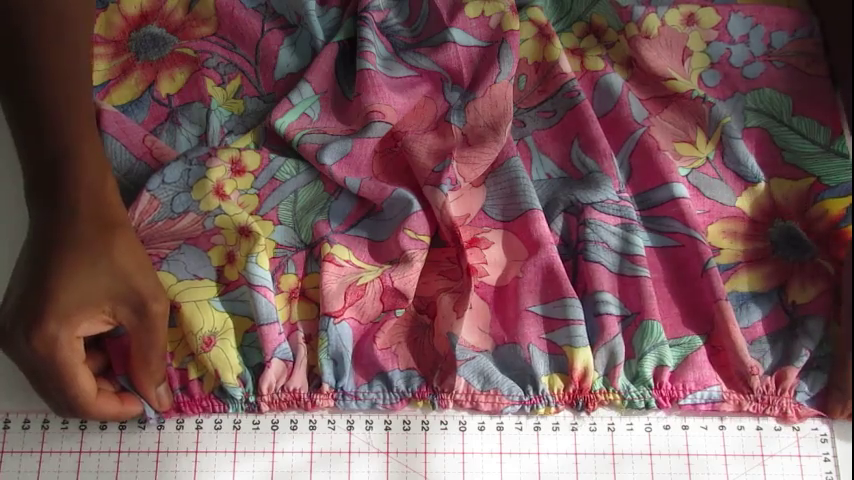
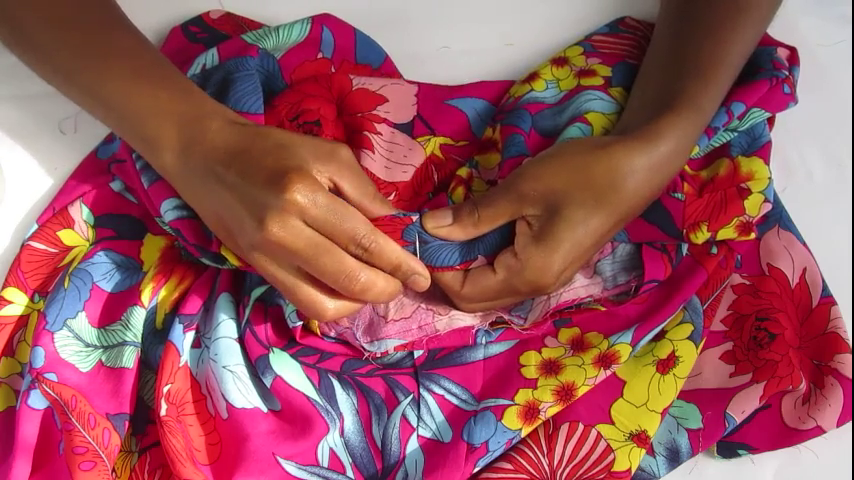
Once the entire belt has been sewn, feel free to remove any visible gathering threads using a seam ripper and scissors.

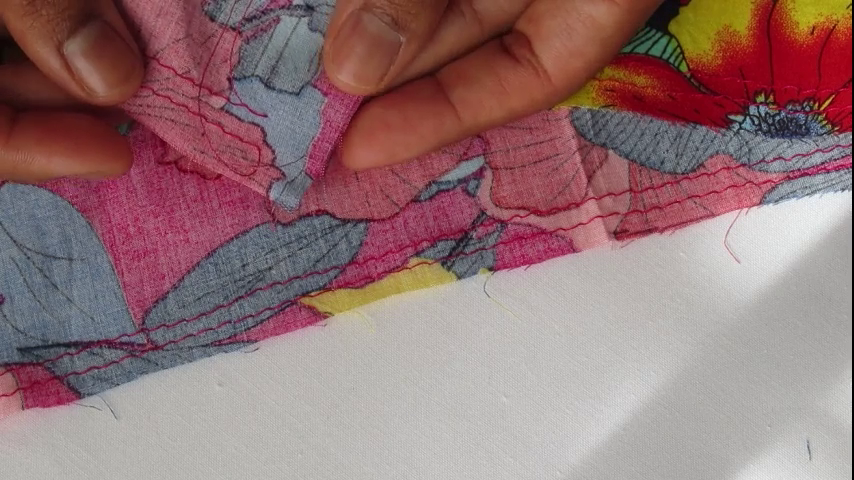
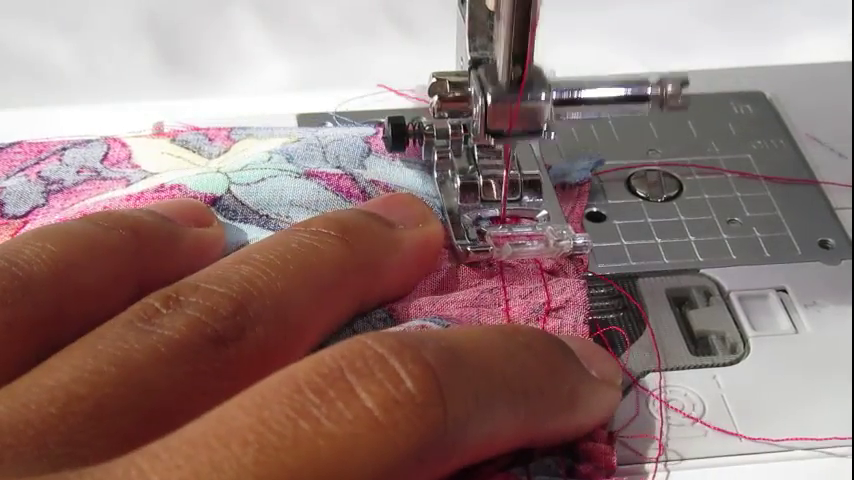
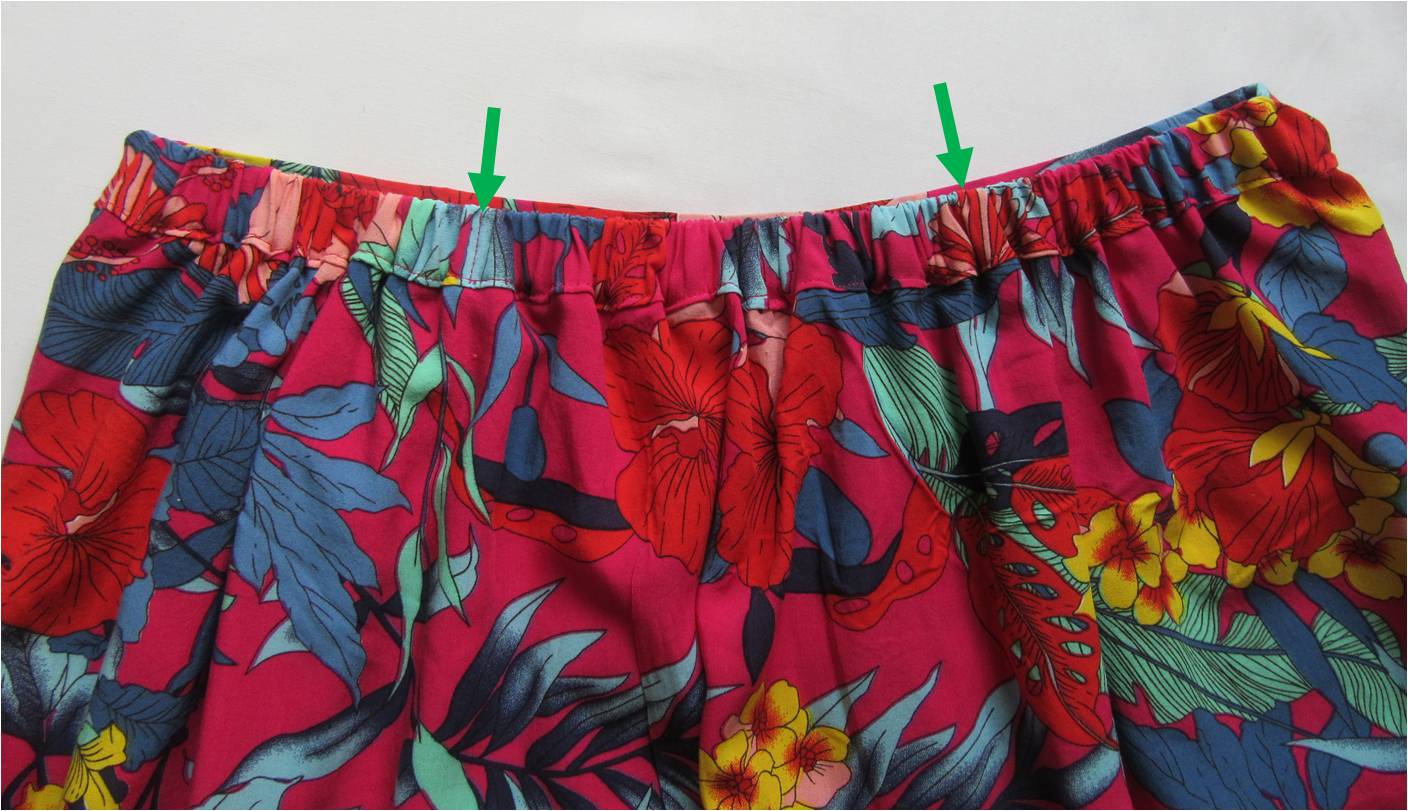
Finally, to prevent the elastic from slipping out, sew two vertical seams on the back waistband:
Step 7: Creating the hem of the skirt without pattern
Fold the entire bottom of the skirt 1 cm using an iron. Fold again 1 cm and use pins to secure if necessary. Finally, stitch 1 cm from the edge.


And that's it! Well done! You've just sewn a skirt without pattern 🎉
If you want to go further, several patterns for beginners are available in my book. Here is an example with this buttoned skirt:

See you soon!
Cadia